Wednesday, June 11, 2014

Dusting off the blog...

SILLY ME for thinking I would actually have time to keep up with a teaching blog during my first year. HA! 

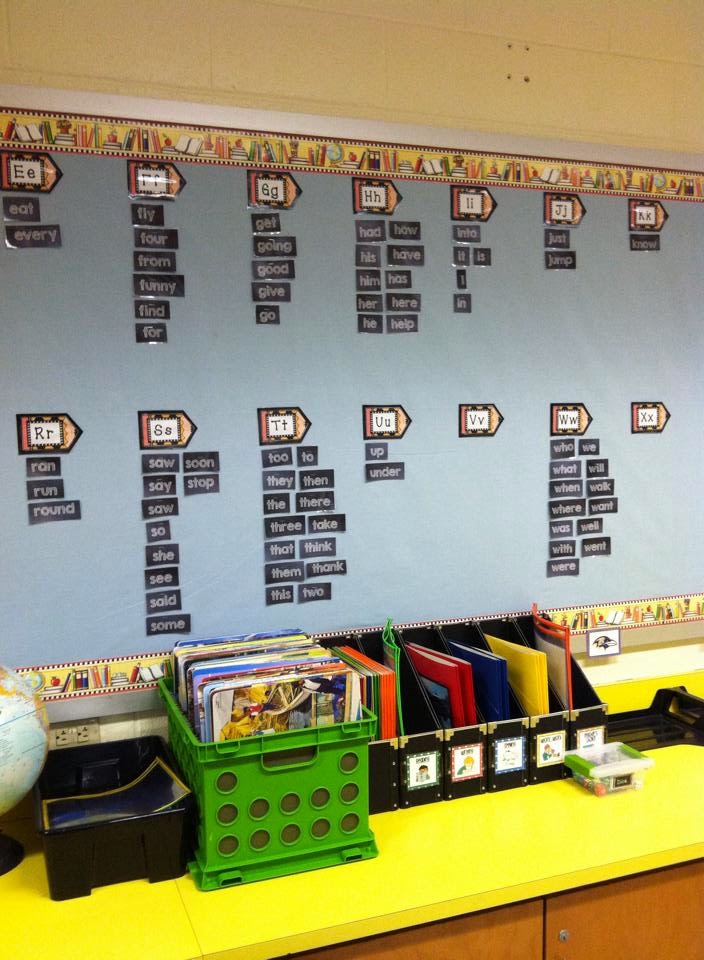
Now that the school year is coming to an end, I look back at pictures of my classroom from the first week. It was so empty and bare! I have come a long way with the help of my little firsties. Here are some more recent pics of my home away from home...


 I found this to be a much easier way to display student work in the hallway rather than taping things to the cement wall.


 Literacy centers


Just as I've made myself comfy and cozy, I have been told that I will be moving classrooms next year to be closer to the other first grade teachers. As we all know, part of being a teacher involves being super flexible. Guess it's just another chance for me to redecorate and organize now that I have my first year under my belt. :)

Sunday, August 25, 2013

Classroom tour!!!

This week has been insanely exhausting!! Thank goodness my classroom is finally 90% finished. Still a few touches here and there, but still ready for 20 first graders tomorrow morning! Here are some pictures of the work in progress


I didn't have a small group table in my room, so I had to improvise!


Although I am mentally and physically drained already, I am SO excited to start the year! Happy first days :)

Wednesday, August 7, 2013

Student Binders

During my long-term sub jobs, one thing I found myself getting frustrated with was trying to find student information and data. When having a conference with a parent, I would normally rummage through tons of folders and files to put together everything I needed. 

I decided that for my classroom, I would have one binder for each student. In this binder, I would have copies of all student information, contact information, health info, and every piece of data that I collect along with work samples. This will make it super easy to prepare for conferences or assessments. 

Here is a picture of the finished product:

(If you would like to download this binder cover, I have it available for free here from my TPT!)

My mom and I went school supply shopping last week (a day that I always DREAMED about as a kid each year). I've been wanting to do student binders for awhile, but just had to talk myself into the investment. Luckily, Walmart had these 1" binders for a little under $2 each. I have 18 in my class this year, but I bought 20 just in case I get new students.

Found more use out of my little label maker :)

My mom also introduced me to these! They are divider tabs. Since I was only planning on using two dividers for each binder, this would allow each divider to line up neatly.

I bought cardstock on sale at Michaels to use for the dividers. It is thicker and more durable so hopefully it holds up well!

I made my labels using my label maker. One divider would be for Student Information and the other for Student Data.

This is what the dividers look like after you attach the tabs to cardstock.

Then I attached the labels, and hole punched the card stock.

 Done! And ready to be filled :)

Monday, July 29, 2013

Today's DIY Projects

As the last few weeks of summer quickly pass by, I am starting to wrap up all my classroom projects. I am finally feeling like I have a classroom that is coming together. I am so anxious and excited to get started and jump into this new position! 

A few weeks ago, I found this brand new toy organizer at a Goodwill for only $10


I loved it because it was sturdy and the perfect size for my classroom. I also loved that the slates were removable to make the boxes larger!


After brainstorming a few ideas for this little organizer, I decided it would be a great storage station for communal classroom supplies. If a student needs a pair of scissors or a new glue stick, they can just walk up to the "Supply Station" rather than getting out boxes or bins. 


This is the (almost) finished product. The bottom middle section still needs a label because I'm not sure what other supplies I should include. Can't wait to fill it up!


I laminated the labels and attached them to the wood with velcro adhesives. This way I can change the label if I find that my students are needing other supplies.

This is my other project I worked on today. I think it might be my new favorite DIY classroom addition! 

I found this amazing freebie on TPT for the crayons. The download includes crayons with labels and ones without. I used the ones without and added my own color words through Word. I then took a trip to Michaels where I found cardstock at 40% off. I got one in each color for backgrounds for each crayon. I also got the blue glittery paper on the heading from Michaels. After laminating, I taped them together on the back using packaging tape. 


Everything is slowly coming together and I am so excited to actually get into my classroom and get started! :)